
Installing the agent is easy.
Doing onboarding well is different.
Because an endpoint that has no context...
will catch up with you later.
If you're an MSP, onboarding does not end when the computer appears in the console. It ends when you know it exists, who uses it, how critical it is, which policies apply, which alerts matter, which patches are missing, and how you'll support it without improvising.
As an external reference, the NIST Cybersecurity Framework 2.0 places asset management inside the Identify function: hardware, software, systems, services, and data should be identified and managed according to business importance and risk. For an MSP, that becomes very practical: if the endpoint is not inventoried well on day one, everything else starts weak.
1) Confirm that the expected endpoint actually joined
The first trap is counting installations, not endpoints.
"We installed 20 agents" sounds good... until the manager's laptop, the billing server, or an old machine running a critical app is missing.
Before calling it done, compare three things:
- the client's expected endpoint list;
- endpoints reporting in the RMM;
- devices that are missing, duplicated, or retired.
You do not need a perfect CMDB to start. You need a minimum truth: what is in, what is missing, and what should no longer be active.
2) Classify before applying policies
Not every endpoint carries the same weight.
A test laptop does not have the same priority as a server, a point-of-sale machine, or the computer used for invoicing. If you apply the same policy to everything, support starts blind.
Classify each endpoint with operational details:
- client or site;
- primary user;
- device type;
- criticality;
- operating system;
- usage hours;
- maintenance window;
- client-side owner.
That helps decide which alerts escalate, which patches can wait, and when remote support makes sense.
3) Verify hardware and software inventory
An endpoint without inventory is a promise.
It is not evidence yet.
Check that the RMM has useful data:
- CPU, RAM, and disk;
- operating system and version;
- storage and disk health when available;
- installed software;
- recognizable user or name;
- recent snapshots.
The CISA Cross-Sector Cybersecurity Performance Goals include asset inventory as a baseline practice for reducing risk. This is not theory: if you do not know what software exists across the fleet, you do not know which version is vulnerable, which app should be removed, or which endpoint is outside the client's standard.
4) Assign minimum policies, not every policy
The common mistake: putting a new endpoint into everything.
All alerts.
All rules.
All automations.
And then nobody knows which signal matters.
Start with a small baseline:
- availability monitoring;
- low disk space;
- disk health;
- disabled antivirus on Windows;
- malware detected when applicable;
- pending or failed patches;
- meaningful inventory changes.
Then adjust by criticality. A server may need faster response. A user laptop may tolerate another window. A test machine may need less noise.
5) Validate alerts before there is urgency
An alert you have never tested is an assumption.
And assumptions fail under pressure.
During onboarding, make sure critical signals have an owner and action:
- who receives the alert;
- which severity it has;
- when a ticket is created;
- when it escalates to the client;
- what evidence closes it;
- which alerts only go into weekly review.
You do not need to simulate a full incident. But you do need to know the flow exists.
6) Review patch status before promising control
The endpoint is in.
Good.
Now look at technical debt.
During onboarding, separate:
- pending patches;
- failed patches;
- operating system outside the expected version;
- third-party apps that need attention;
- devices that need a special maintenance window;
- approved exceptions.
That prevents a dangerous promise: saying "it is managed now" when it is only installed.
7) Confirm remote support with context
The worst time to discover remote access is not ready is when the user is already waiting.
During onboarding, validate:
- the endpoint appears with a clear name;
- you can identify the user or department;
- the technician can see recent alerts before connecting;
- inventory helps diagnosis;
- internal rules allow remote support;
- the client understands how sessions are handled.
Remote support is not just opening a screen. It is entering with history: endpoint state, alerts, inventory, patches, and recent activity.
8) Run the first review after 7 days
Onboarding should not die on installation day.
It needs a short review after the first week:
- endpoints that stopped reporting;
- missing devices;
- repeated alerts;
- failed patches;
- incomplete inventory;
- tickets created;
- client questions;
- policy adjustments.
That review turns installation into operations. It also helps catch incomplete client lists or devices nobody wanted to admit were still alive.
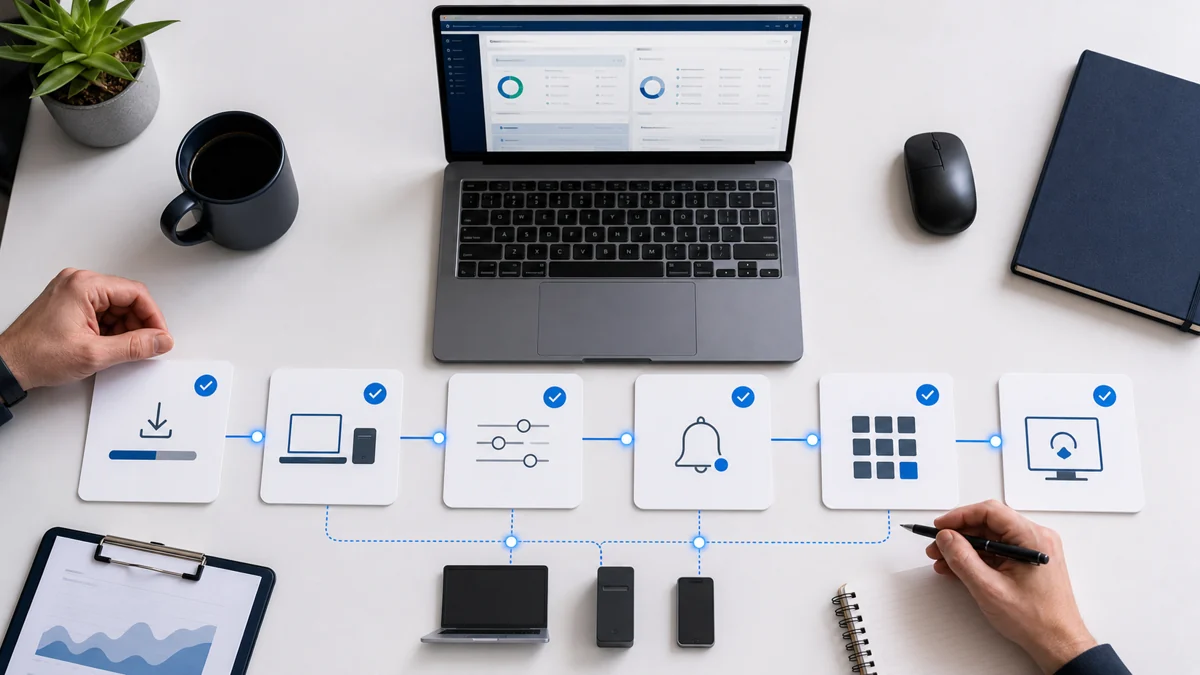
Quick endpoint onboarding checklist
Use this list for each new client:
``text [ ] Expected endpoint appears in the RMM [ ] Name, user, site, and client are clear [ ] Criticality assigned [ ] Hardware inventory visible [ ] Software inventory visible [ ] Baseline policy applied [ ] Critical alerts have an owner [ ] Patch status reviewed [ ] Remote support validated [ ] Exceptions documented [ ] First weekly review scheduled ``
FAQ: endpoint onboarding for MSPs
What does endpoint onboarding mean in an RMM?
It means bringing each device into operations: installing the agent, validating inventory, classifying criticality, applying policies, reviewing alerts, checking patches, preparing remote support, and leaving follow-up.
Which endpoints should I validate first?
Start with critical devices: servers, administrative computers, key users, point-of-sale machines, or any endpoint that can stop the client's operation if it fails. Then complete the rest of the fleet.
Does onboarding end when the agent is installed?
No. Installation only confirms that the endpoint can report. Onboarding ends when the device is visible, classified, policy-managed, and scheduled for a first review.
What should I do with endpoints that stop reporting after installation?
Check connectivity, installation status, permissions, duplicate names, powered-off devices, or actual asset retirement. Do not leave them as endless pending items; every exception needs an owner.
How does Lunixar RMM help with this flow?
Lunixar RMM connects inventory, monitoring, alerts, patch management, security, and remote access so technicians do not onboard from scattered spreadsheets or memory.
Close day one properly
Good onboarding prevents weeks of confusion.
It is not about installing fast and moving on.
It is about leaving each endpoint ready to operate: visible, classified, monitored, mapped to reasonable policies, patch status reviewed, remote support validated, and a first review scheduled.
Lunixar RMM fits this workflow because it brings monitoring, inventory, alerts, patching, security, and remote access into one console. If onboarding currently depends on chats, spreadsheets, and scattered notes, try Lunixar RMM for 14 days, with no credit card, up to 5 devices, and full access.
You can also continue with these guides: